

axe DevTools Install Guide
Introduction
This is the first of several 'precursor' guides in our Accessibility Remediation series. These guides will help you set up and familiarize yourself with the tools that you'll be using for addressing accessibility issues.
This guide will walk you through the process of downloading the axe DevTools browser extension.
Video Guide
Written Guide
Instructions
Step 1 - Find the Downloadable axe DevTools Browser Extension
Navigate to your browsers' Add-ons web store. Most users will be utilizing Chrome, so navigate to the Chrome web store. (The Microsoft Edge Addons page in the Edge browser, and the Add-ons for Firefox page in the Firefox browser.)
Once on the web store homepage, start typing 'axe DevTools' into the search bar until the 'axe DevTools - Web Accessibility Testing Extension' appears in the results dropdown, then click on the extension.

Step 2 - Download the Extension
The axe DevTools - Web Accessibility Testing extension's page will open; click on the Add to Chrome button (or the add/install button in your browser's web store).

A pop-up notification will appear, confirming that you want to add the axe DevTools browser extension to Chrome. Click Add extension.

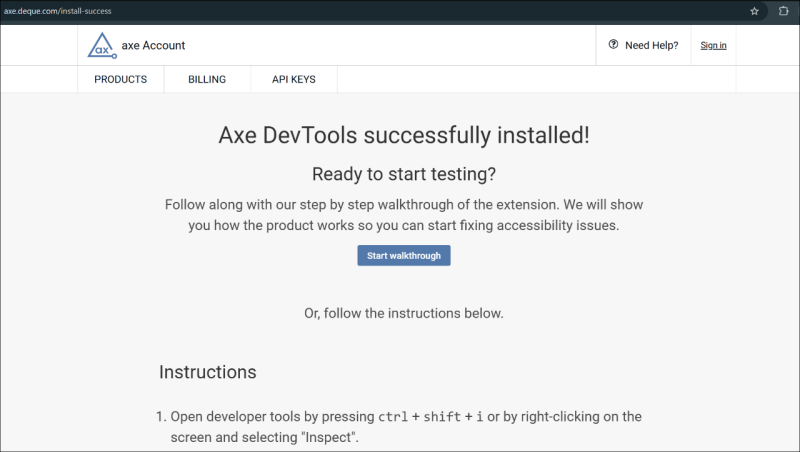
The extension will install itself on your browser. When it finishes, a new window will open, letting you know that the install was successful. We suggest familiarizing yourself with the axe DevTools browser extension by looking over the written instructions on the page, or by clicking the Start walkthrough button, but this isn't required.
Step 3 - Open axe DevTools and Finalize Setup
Once the axe DevTools browser extension is installed, navigate to any webpage, and right-click on the page. Select Inspect from the pop-up menu.

The Developer Tools window will open. Find the axe DevTools extension by looking in the top menu bar (1), or by clicking on the More tabs arrow (2). Click on axe DevTools (3) to open the extension.

When axe Devtools opens for the first time, you will see a smaller pop-up window, welcoming you to axe DevTools, and asking you to complete a couple of setup steps.
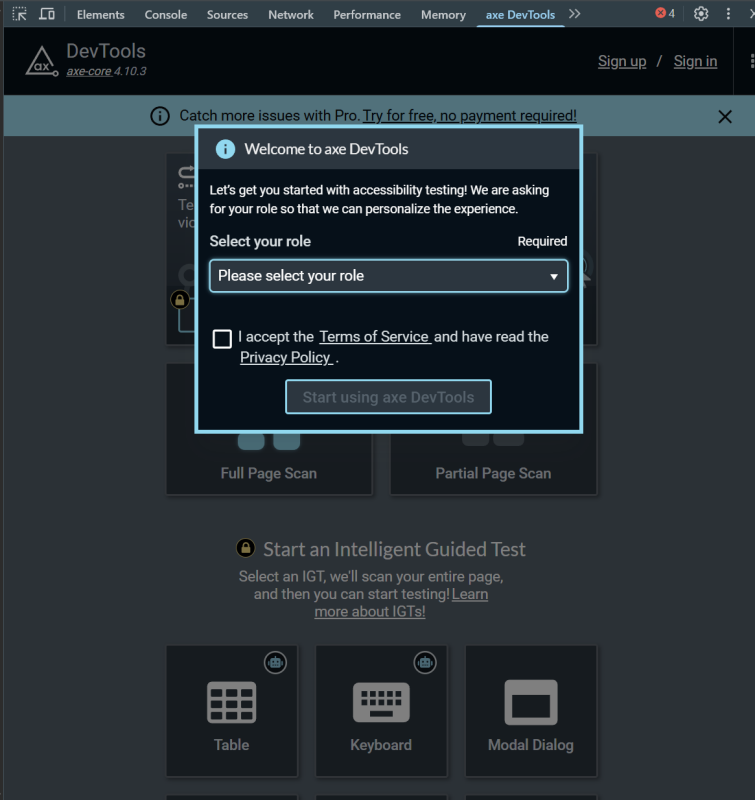
Select your role as a user from the drop-down menu (1), accept the terms of service and privacy policy by checking the box (2), and then click Start using axe DevTools (3).

axe Devtools should now be correctly installed and set up for you to begin using. We will cover basic use in our axe DevTools Basic Use Guide.
If you encounter problems with this guide, please contact us at engtechteam@vt.edu or 540-231-9076